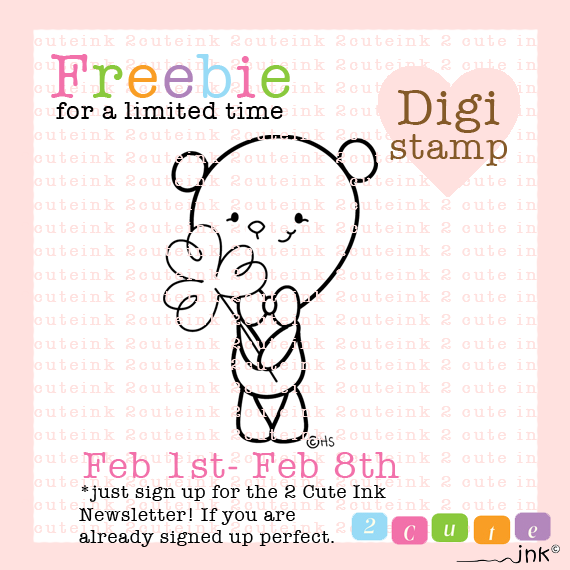
Heidi from 2Cute Ink is giving away super cute freebie this month. It´s a Pumpkin Cookie. All you need to do to get this super cutie is to sign up for a newsletter.
Heidi from 2Cute Ink is giving away super cute freebie this month: Nerdy Pencils. All you need to do to get this super cutie is to sign up for a newsletter.
Heidi from 2Cute Ink is giving away super cute freebie this month. It´s a Pinwheel Monster. All you need to do to get this super cutie is to sign up for a newsletter.
Heidi from 2Cute Ink is giving away super cute freebie this month. It´s a B-day Party Penguin. All you need to do to get this super cutie is to sign up for a newsletter.
Heidi from 2Cute Ink is giving away super cute freebie this month. It´s a Tulip Owl Digi. All you need to do to get this super cutie is to sign up for a newsletter.
Image is paper pieced. I printed two images on a white cardstock paper and one on a white paper (160 grams). I colored pieces I needed with my colored pencils, fussy cut pieces, colored edges with black permanent pen and glued all pieces together. I added a bit of transparent varnish on a bow to create glossy accents. Here is a photo of all pieces I used.
At the end I embellished the card with faux enamel dotsfrom paper. This was something I was experimenting with last night and it came out pretty good. :-D
Here is how I made my faux enamel dots from paper (step by step tutorial): I punched out circles from design paper leftovers. I placed paper circles on baking paper. I covered circles with thick coat of glossy transparent varnish to create dimension. I left them dry over night.
Card dimensions are 105 mm x 148 mm (4 1/8" x 5 7/8"). List of supplies:
Sizix'Flights of Fancy', spots, green, green swirls-lines (free for newsletter subscribers)
white cardstock paper
white paper (160 grams)
colored pencil (light green)
Kooh-i-noor woodless colored pencils (Titanium White 3, Dark Green 5)
Koh-i-noor universal white pencil for writing on gloss surfaces
Staedtler Lumocolor permanent black pen M (medium) 1.0 mm
transparent varnish with extra gloss
Pritt universal glue
white water based glue
printer
scoring board
trimmer
scissors
compass tool
MSC Edger Punch, Scallop Dot
office paper puncher
eraser
crafting needle
baking paper
I am entering my card to following challenges:
Note:
bold text and challenge badge (if any) are direct links to the current challenge
and blog badge (if any) is direct link to blog or challenge home page.
4) As You Like It Challenge, Favourite Type of Stamp - Digi or Rubber (and Why)? I love both, digital and rubber stamps. As a relatively new stamper and being unemployed long long time, I don´t have a lot of rubber stamps. With a really low monthly budget I can spend on crafting supplies (sometimes none), and enormously high price of rubber stamps here in my country (buuu), I prefer digital stamps. Also, digital stamps can be resized and rotated, so I have much more possibilities than with rubber stamps. :-D
5) Bunny Zoe´s Crafts, March Challenge: Spring Colours This is my 2nd entry to this challenge.
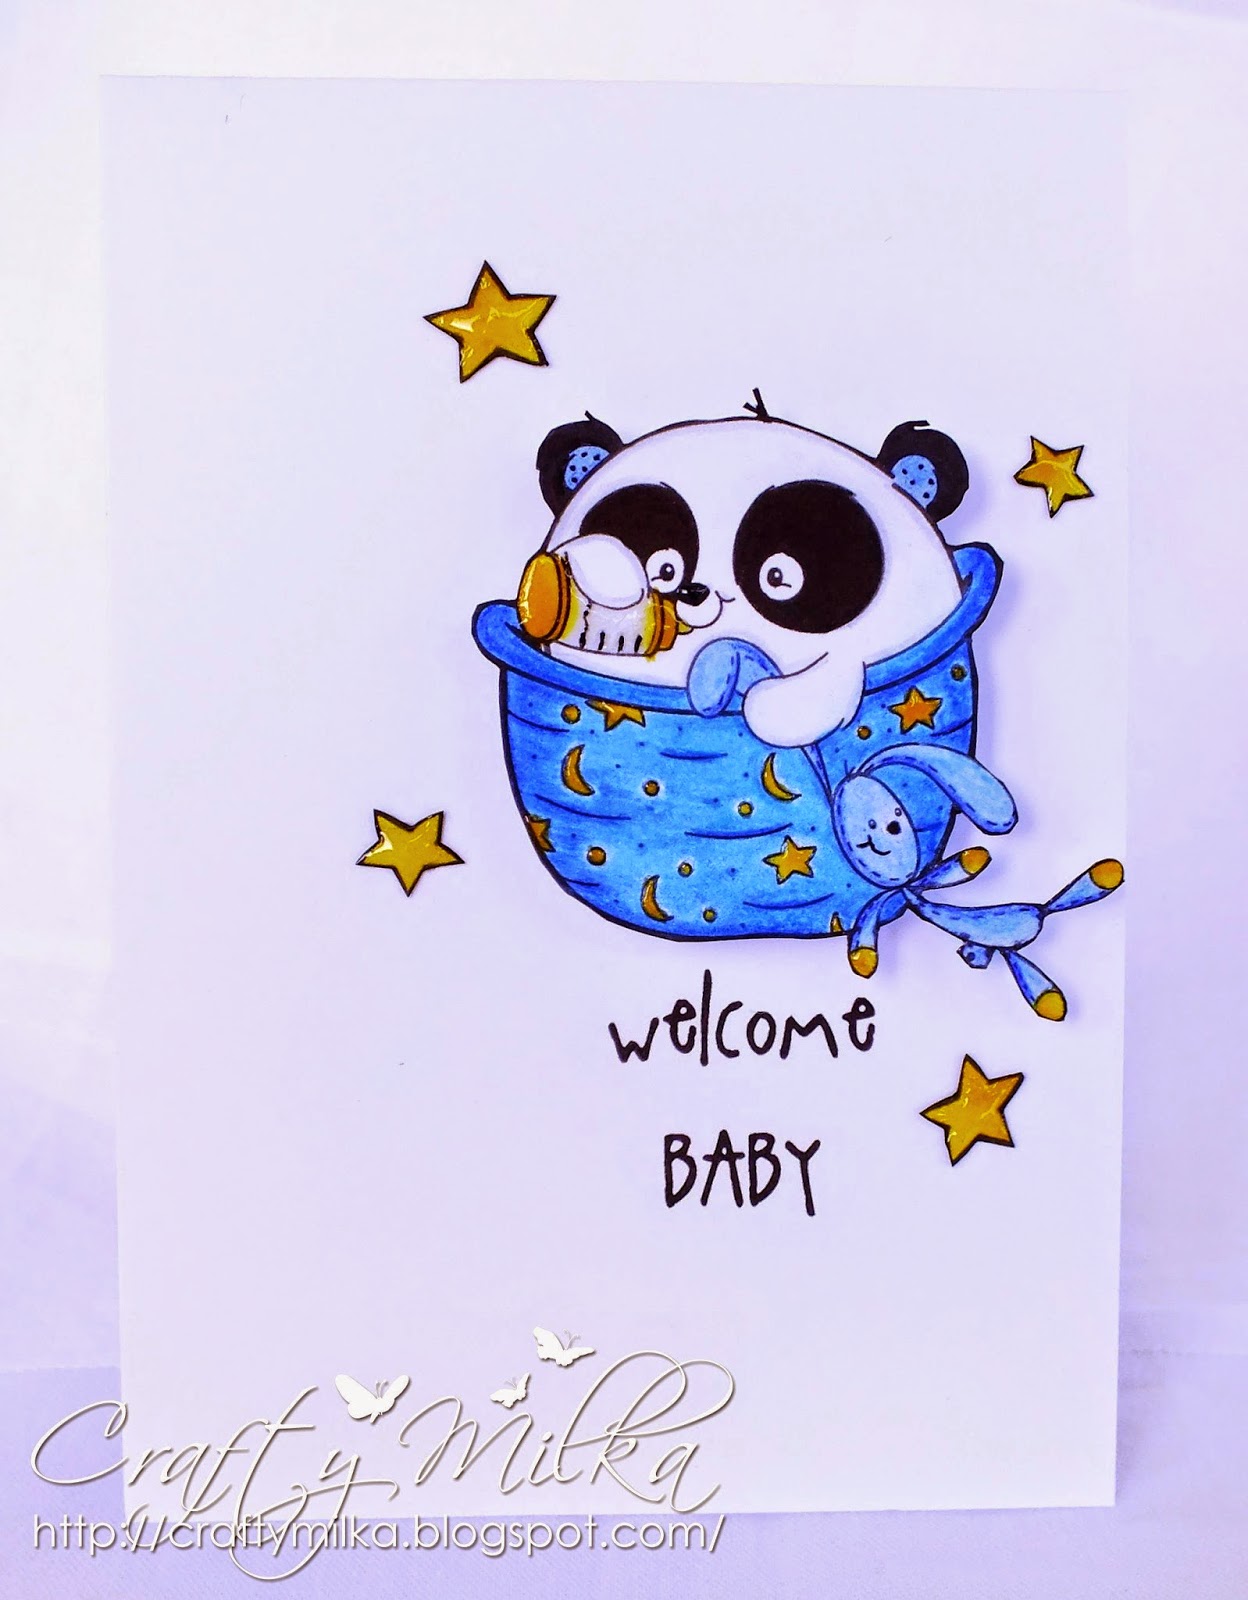
I printed the image on apiece of white cardstock paper and colored it withdifferent medias.
Yellow parts are colored in watercoloring technique, using Tim Holtz´s Distress Ink Mustard Seed, water and brush. Milk in the bottle is colored with Pastel White pearl maker. Basket, panda´s ears and bunny are colored with blue colored pencils. Panda´s muzzle and ears are colored with black permanent marker, as well as bunny´s muzzle. Panda is shaded with grey colored pencil. After I colored everything, I covered panda´s muzzle, bottle, stars, moons and circles on the basket and bunny´s paws with glossy transparent varnish, to create glossy accents. After the varnish was dry, I fussy cut the image and colored edges with black permanent pen.
Then I wrote a sentiment on my computer, using beautiful 'A Little Pot' free font from Kevin & Amanda Free Scrapbook Fonts and printed it on a white card base.
I love dimension on my cards! I don´t have any dimensional foam in my stash (must order these), so I used pieces of felt I had in my stash. I glued pieces of felt behind the image,instead of dimensional foam, and placed (glued) image to the card base.
At the end, I decorated card with four little stars I made, just to add more interest to the card. Using my computer, I cut the star from original image and printed in 4 different sizes. I colored them in watercoloring technique, using Tim Holtz´s Distress Ink Mustard Seed, water and brush. I fussy cut them, colored edges with black permanent pen and covered them with glossy transparent varnish. Card dimensions are 105 mm x 149 mm (4 1/8" x 5 7/8").
Heidi from 2Cute Ink is giving away super cute freebie this month. It´s Butterfly Doodle Digi. All you need to do to get this super cutie is to sign up for a newsletter. Hurry, this one is available for a limited time (I totally forgot to share this earlier).
I would like to thank Heidi for her generous giveaway. :-D
Did you see? Heidi from 2Cute Ink is giving away super cute freebie this month. It´s Shamrock Bear Digi. All you need to do to get this super cutie is to sign up for a newsletter. Hurry, this one is available for a limited time.
I would like to thank Heidi for her generous giveaway. :-D
Thank you for stopping by. Stay around, more exciting news soon. Until then, enjoy and smile. :-D
Our sponsor for this challenge is 2Cute Ink, with an awesome prize for our random winner: 2 digital images.
This is my first appearance as a Design Team Member at Kitty Bee Designs and for this challenge I made this Unconditional Love Card, using our sponsor´s super cute image 'Best Fins'. I made this card for my mom. :-D
This is a CAS (clean and simple) card with paper pieced image (it has only two layers).
I printed one image on 160 grams white
paper and colored it in watercoloring technique using my aquarell colored pencils, paint brush and water. After the image was dry, I fussy cut it, colored edges with black fine liner and glued it over another image printed on blue cardstock layer. I colored bubbles and hearts also in watercoloring technique. After everything was dry, I glued blue layer on to the card base and added transparent varnish to the image (bubbles, hearts, mouths) to create glossy accents and pop up those details.
Card dimensions are 139 mm x 95 mm (5 1/2" x 33/4").
Koh-i-noor Mondeluz aquarell colored pencils (Yellow 3, Orange 5, Light Blue 18, Dark Blue 19)
Staedtler Lumocolor permanent black pen S (superfine) 0.4 mm
white water based glue
UHU universal glue
transparent varnish with extra gloss
printer
scoring board
trimmer
scissors
crafting needle
Marabu fine paint brush no.2
paper towels
water
Stop by the Kitty Bee Designs blog and check out lovely projects the rest of Design Team created! And don´t forget to join us in this challenge. We are looking forward to see your projects. :-D
I am entering this card into the following challenges:
Note: bold text is direct link to current challenge and blog badge is direct link to blog or challenges home page.