Showing posts with label Acrylic Paint. Show all posts

Sunday, December 29, 2019

Mixed Media Blue Mandala Canvas

Hi everyone!!! :o)

Today I want to share with you this Mixed Media Blue Mandala Canvas. :o)


I made this one a while ago (in spring 2017), but I didn't share it anywhere yet because I forgot about it. It was a gift for my cousin for starting her new business (relaxing and massage center). She loved it. :o)

This month I've started making similar one for my friend and realized I never shared this one.


How I made this canvas...

To make the canvas, I used a GORGEOUS Create a Smile 'Mandala' cling stamp and a Devanāgarī Script stamp that I got from my dear friend Neha of Periwinkle Creations. :o)

I worked on a white stretched canvas.

I heat embossed the Mandala in white directly on the canvas. Using a brayer roller, I spread thick layer of acrylic paints (white and light blue) all over the canvas. Using a wet cloth, I removed paints from the Mandala, as it was not visible at all. The area was lightly painted blue, but all Mandala lines were visible.

After drying, I colored the Mandala with colored pencils.

I added more blue acrylic paint on the canvas corner and lightened the area around the Mandala with a white pigment ink pad. I left the canvas drying on air and repeated the process couple times until I was satisfied with the color.

I masked the Mandala with a paper towel and stamped whole background using the Devanāgarī Script stamp and the white pigment ink.

After drying, I mixed a white acrylic paint with a bit of water and splattered the whole background. I removed the mask from the Mandala and left the canvas drying on air for couple of hours.

Lastly, I traced Mandala's lines with a white gel pen and my canvas was finished. :o)


Canvas measurements: 178 mm x 238 mm (7" x 9 3/8")

List of supplies:
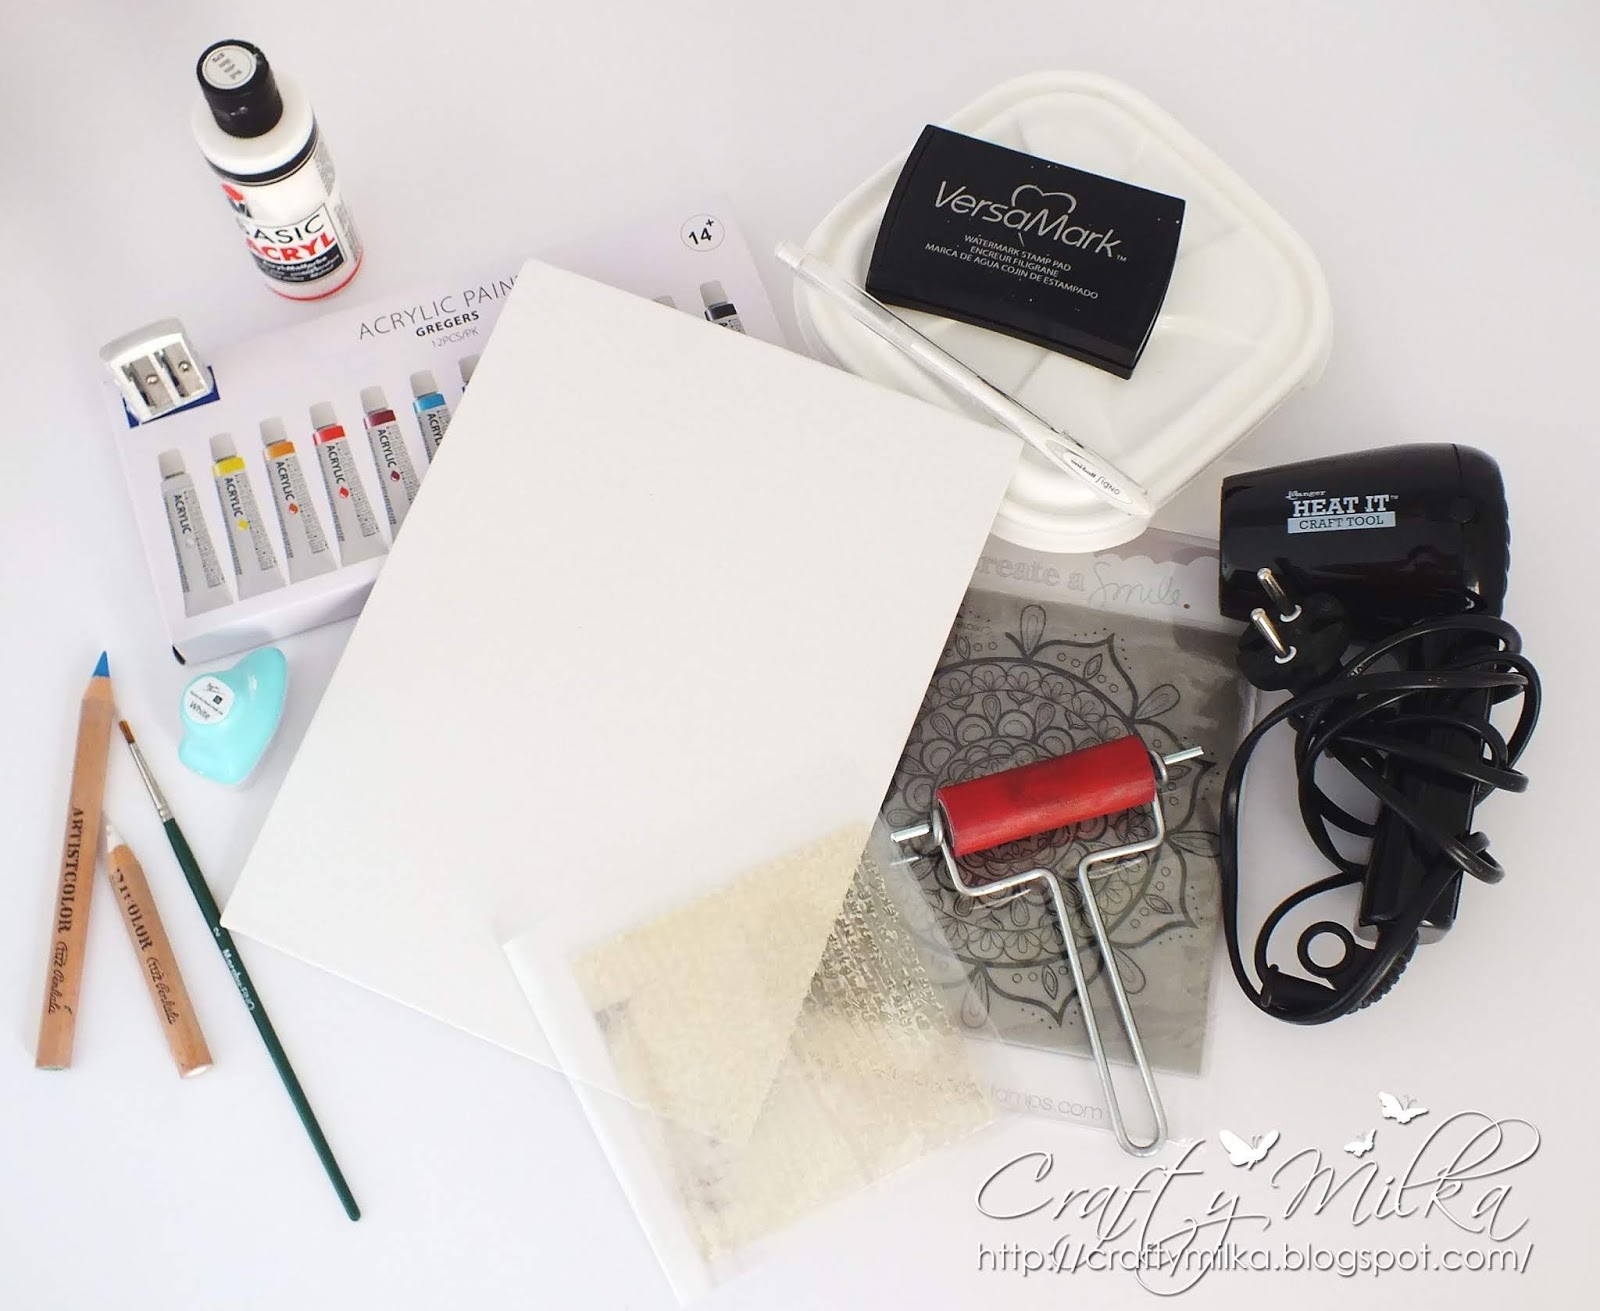
  • Create a Smile 'Mandala' cling stamp
  • Devanāgarī Script stamp
  • white stretched canvas
  • Tsukineko VersaMark Watermark Stamp Pad
  • WOW! Embossing Powder (Opaque Bright White, Regular, WL01R)
  • Acrylic Paints
    • white
    • light blue
  • Marabu Acrylic Paint (070 White)
  • TOZ Artist Colors Colored Pencils:
    • white
    • light blue
  • white pigment ink pad (I don't remember a manufacturer)
  • Uniball Signo White gel pen
  • brayer roller
  • Ranger Heat It Craft Tool
  • Marabu fine rounded paint brush no. #2
  • wet cloth
  • paper towel
  • water
  • pencil sharpener


Thank you for stopping by and your kind feedback. Enjoy and smile! :o)


Milka

Thursday, November 14, 2019

Happy Holidays Card (Jane's Doodles DT Spotlight)


Hi everyone! :o)

Yesterday was my turn to be on the spotlight over at Jane's Doodles, but I was too tired to write a post and share it here with you. For my spotlight I made this Happy Holidays Card. :o)


On my card I went with same color scheme like on my last week's Jane's Doodles spotlight card (here). I love it!!! :o)

To make this card I used stamps from six GORGEOUS Jane's Doodles Christmas/Winter themed stamp sets: an ornament form 'Deck the Halls', a sentiment from 'Winter Words' and a background stamps, a holly from 'Winter Icons', a small snowflake from 'Snow Globe', a medium snowflake from 'Winter Fun' and a large snowflake from 'Driving Home for Christmas'.


How I made my card....

I stamped the holly and snowflakes on a Kraft paper panel in watermark stamping technique using VersaMark Watermark Ink.

I mixed a white acrylic paint with a bit of water and, using a paint brush, splattered the panel and left it dry on air.

Then I stamped ornaments on a white watercolor paper and colored them in watercolor technique using only one color: Distress Ink Ground Espresso. After drying, I fussy cut ornaments, traced their edges with a black marker and softened them with a stylus ball on a soft working mat. This curled a bit each ornament. I did this to add just a bit dimension to my card.

After the panel was completely dry, I stamped three ornaments directly on the panel and colored them with a black marker. I stamped bows on each ornament and drew lines with a black fine liner. I glued the panel on a white top folded card base, slightly longer than the panel and glued watercolored ornaments over black ones.

As splatters on the panel were pale, I highlighted some of them with a white pigment ink pen.

I heat embossed in white the sentiment on a black cardstock paper and cut the sentiment to stripe of desirable size. To make the sentiment pop a bit on the card, without 3-D foam, I glued the stripe on a same size black stripe, just to make it a bit thicker. Then I glued it directly on the card.

As a finishing touch, I drew white highlights on ornaments and my card was finished. :o)

I love how my card turned out!! :o)


Card measurements: 82 mm x 121 mm (3 1/4" x 4 3/4")


List of supplies:


    I'm linking my card to following challenges:
    Note: bold text and challenge badge (if any) are direct links to the current challenge and blog badge (if any) is a direct link to blog or challenge home page.

    1) Addicted to Stamps and More, Challenge #367 - Make Your Mark
    This is my 1st entry to this challenge.

    2) Country View Challenges, November 2019 - Hand Stamped
    This is my 4th entry to this challenge.

    3) Love To Craft Challenge, LTCCB #40 - November Anything Goes
    This is my 2nd entry to this challenge.

    4) Love to Scrap Challenge, LTSCB #127 - Anything Goes
    This is my 2nd entry to this challenge.


    5) The Cat's Pajamas, TCP Tuesday Challenge #363 - Holiday
    This is my 2nd entry to this challenge.

    6) Your Next Stamp, Fun Friday Challenge #126 - Holiday Wishes
    This is my 2nd entry to this challenge.


    Thank you for stopping by and your kind feedback. Enjoy and smile! :o)


    Milka

    Wednesday, October 30, 2019

    13 Days of Halloween - Day 8 - Black Mini Pumpkins Decorations

    Hi everyone!!! :o)

    Today I'm bringing DAY 8 of the 13 Days of Halloween series with these two Black Mini Pumpkins Decorations. :o)


    I made these (and other decorations) to decorate our apartment for Halloween night. This year's theme is black&white. :o) Although it's not common here in Croatia to celebrate Halloween, my honey and I celebrate it each year. We started to date in the Halloween night 13 years ago. :o)


    How I made my decorations...

    My honey brought me adorable mini pumpkins couple days ago to do something with them for Halloween. I knew immediately they will be black. 

    I cleaned pumpkins with a dry cloth and painted them with a black acrylic paint. I mostly used my fingers to color (with disposable latex gloves on my hands), I just used a paint brush to paint pumpkins around stems.

    First I painted bottom part of pumpkins and left them dry through the night. Next day I painted top part of pumpkins and left them dry through the night again.

    I love how they turned out!! :o)

    List of supplies:
    • mini pumpkins
    • dry cloth
    • acrylic paint, black
    • Marabu fine rounded paint brush no. #2
    • disposable latex gloves


    Thank you for stopping by and your kind feedback. Enjoy and smile! :o)


    Milka

    Friday, September 28, 2018

    Rainbow Autumn Leaves Card (Jane's Doodles DT Spotlight)


    Happy Friday! :o)

    Today is my turn to be on the spotlight over at Jane's Doodles and I made this CAS (clean and simple), Rainbow Autumn Leaves Card. :o)


    You might be wandering where is the Rainbow... some colors are missing. :o) I played a bit and stretched my layout through both panels, front and back. Here is the back side of the card.


    To make this card I used stamps from beautiful Jane's Doodles 'Thankful' stamp set.


    How I made this card...

    I stamped leaves on a watercolor paper and colored them in loosely watercolor technique using Distress Inks. I used one color for each leave, except for a green one, which I colored with two Distress Inks: Twisted Citron and Cracked Pistachio. I prefer that combination for the green when watercoloring. :o)

    After drying, I fussy cut leaves, traced edges on each with black marker and left them aside.

    I stamped leaves directly on a white side folded card base from both sides, front and back, and I stamped a sentiment on a front panel of the card base. Then I splattered whole card base with black acrylic paint mixed with water. I covered top part of the card base with a paper to leave it white, without splatters. I left the card base dry on air.

    After drying, I colored leaves stamped on the card base with black marker. At this point my card base was ready for finishing part: to glue down watercolored leaves. And just like that, I managed to smear my card. Black marker smear on top of the card. I tried to save my card and trimmed away that smeared part... it looked terrible!!! Without any thinking, I threw away the card base and made a new one. Second attempt was successful... no black where it shouldn't be. :o)

    At the end, I glued watercolored leaves on the card in Rainbow color order. I didn't glue them completely to the card base, but left top parts of each leave unglued, to create some dimension on my card. I like it!! Leaves look like they're falling. :o)


    Card measurements: 
    Closed: 133 mm x 95 mm (5 1/4" x 3 3/4")
    Open (back + front): 266 mm x 95 mm (10 1/2" x 3 3/4")

    List of supplies :
    • Jane's Doodles 'Thankful' stamp set 
    • white cardstock paper
    • watercolor paper
    • Ranger Archival Ink (Jet Black)
    • Tim's Holtz Distress Inks:
      • Barn Door
      • Spiced Marmalade
      • Mustard Seed
      • Twisted Citron
      • Cracked Pistachio
      • Tumbled Glass
      • Blueprint Sketch
      • Wilted Violet
    • black acrylic paint
    • Stabilo Black fibre-tip pen 68/46
    • Fiskars High Precision Personal Paper Trimmer
    • bone folder
    • acrylic block (102 mm x 102 mm)
    • Xcut self healing mat A4
    • Marabu fine rounded paint brush no. #0
    • Marabu fine rounded paint brush no. #2
    • scissors
    • paper towels
    • water


    I'm linking my card to following challenges:
    Note: bold text and challenge badge (if any) are direct links to the current challenge and blog badge (if any) is a direct link to blog or challenge home page.

    1) Addicted to Stamps and More, Challenge #311 - Anything Goes
    This is my 2nd entry to this challenge.

    2) Crafty Creations Challenges, Challenge #375 - Anything Goes
    This is my 2nd entry to this challenge.


    3) Happy Little Stampers, Watercolour Challenge, September 2018: Anything Goes
    This is my 3rd entry to this challenge.

    4) Simon Says Stamp Wednesday Challenges, Anything Goes
    This is my 2nd entry to this challenge.


    Thank you for stopping by and your kind feedback. Stop by later today, I'll be sharing one more card with you. Enjoy and smile! :o)


    Milka
    Related Posts Plugin for WordPress, Blogger...