Sunday, November 16, 2014

Halloween ambience

Good evening everyone :-D

I finally managed to organize my photos and edit short video of ours Halloween ambience, which I want to share with you. 

I did want to do this last week, after Halloween, but it was very busy and exhausting week for me. I had a lot of job interviews and, finally, after long 18 months, I got the full time job. I started to work last Thursday. Yeiii, now I´ll be able to purchase all those tools I wanted for a long long time.

Meanwhile, I got so ill, that I couldn't do anything with myself. Horrible pills made me cranky and extremely exhausted, so my doctor had to subscribe me even more pills. Now I feel like pharmacy, but feel much better. I can think and write. (LOL) 

Back to Halloween... 

I created Halloween ambience using wall decorations, a lot of candles and candle light shades. 


Idea for wall decorations is not mine, as I wrote in my previous post Halloween decorations, where I gave all the credits and shared the details of how I made mine spooky decorations. I also provided links to original posts where I found templates. 


I made candle light shades last year and stored them. They were in great shape and still are, so I used them this year too and probably will use them again next year. These candle light shades are really easy and fast to make and are very cheap. 


Here is a short tutorial. 


List of supplies:
  • orange card stock paper
  • scissors
  • stencils from the Internet 
  • pencil 
  • black permanent marker 
  • glue

Stencils I used are not my creations and I give all the credits to the authors. 
I am really sorry I can´t provide links to original posts where I found those stencils, because I lost that data. I found stencils last year and had them stored on my computer, but at the beginning of this year my computer crashed and I lost that data. 
I will update this post as soon as I find original posts where stencils can be find.

How to: 
  1. cut card stock paper on desired size (width must be at least 18 centimeters)
  2. draw desired shape or trace out stencil on card stock paper with pencil 
  3. color blanks with black permanent marker or any other desired color media 
  4. glue together two sides of a rectangle to form a cylinder shape 
  5. finished

Important notices: 
  • for tea light candles only
  • indoor usage only
  • never leave it unsupervised 
  • always be in the same room as your lighten tea light candles 
  • not for children 
  • usage at your own risk

Update (November 20th 2014):  
Much safer option is to use these light shades with LED tea light candles. I don´t know if they give that dancing light as a regular tea light candles (see video below), because I never had and tried them. 
Despite the fact that LED tea light candles are safer than regular ones, I recommend all safety precautions when using them. Sadly, quality of products nowadays, especially electronics, can be very poor, so we must be careful when using them.


(incompetech.com)
Licensed under Creative Commons: By Attribution 3.0

Thank you for stopping by and your kind feedback. Have a great week. :-D 


Crafty Milka

Friday, November 7, 2014

Baby Dragon Easel Calendar

Hello everyone :-D

Today I am posting my first project as Guest Designer at Fairy Tale Challenge Blog.

New challenge for this fortnight is #104 Uhren + Kalender / Calendars and Clocks.
Challenge is to make a calendar or a clock, or to use any image in your project that has a calendar or a clock on it. 

This time the prize for one lucky winner is this lovely clear stamps set.

Sounds fun, right. Come and play along at Fairy Tale Challenge Blog and show us your lovely projects. There are also beautiful projects made by talented Design Team and other Guest Designers.

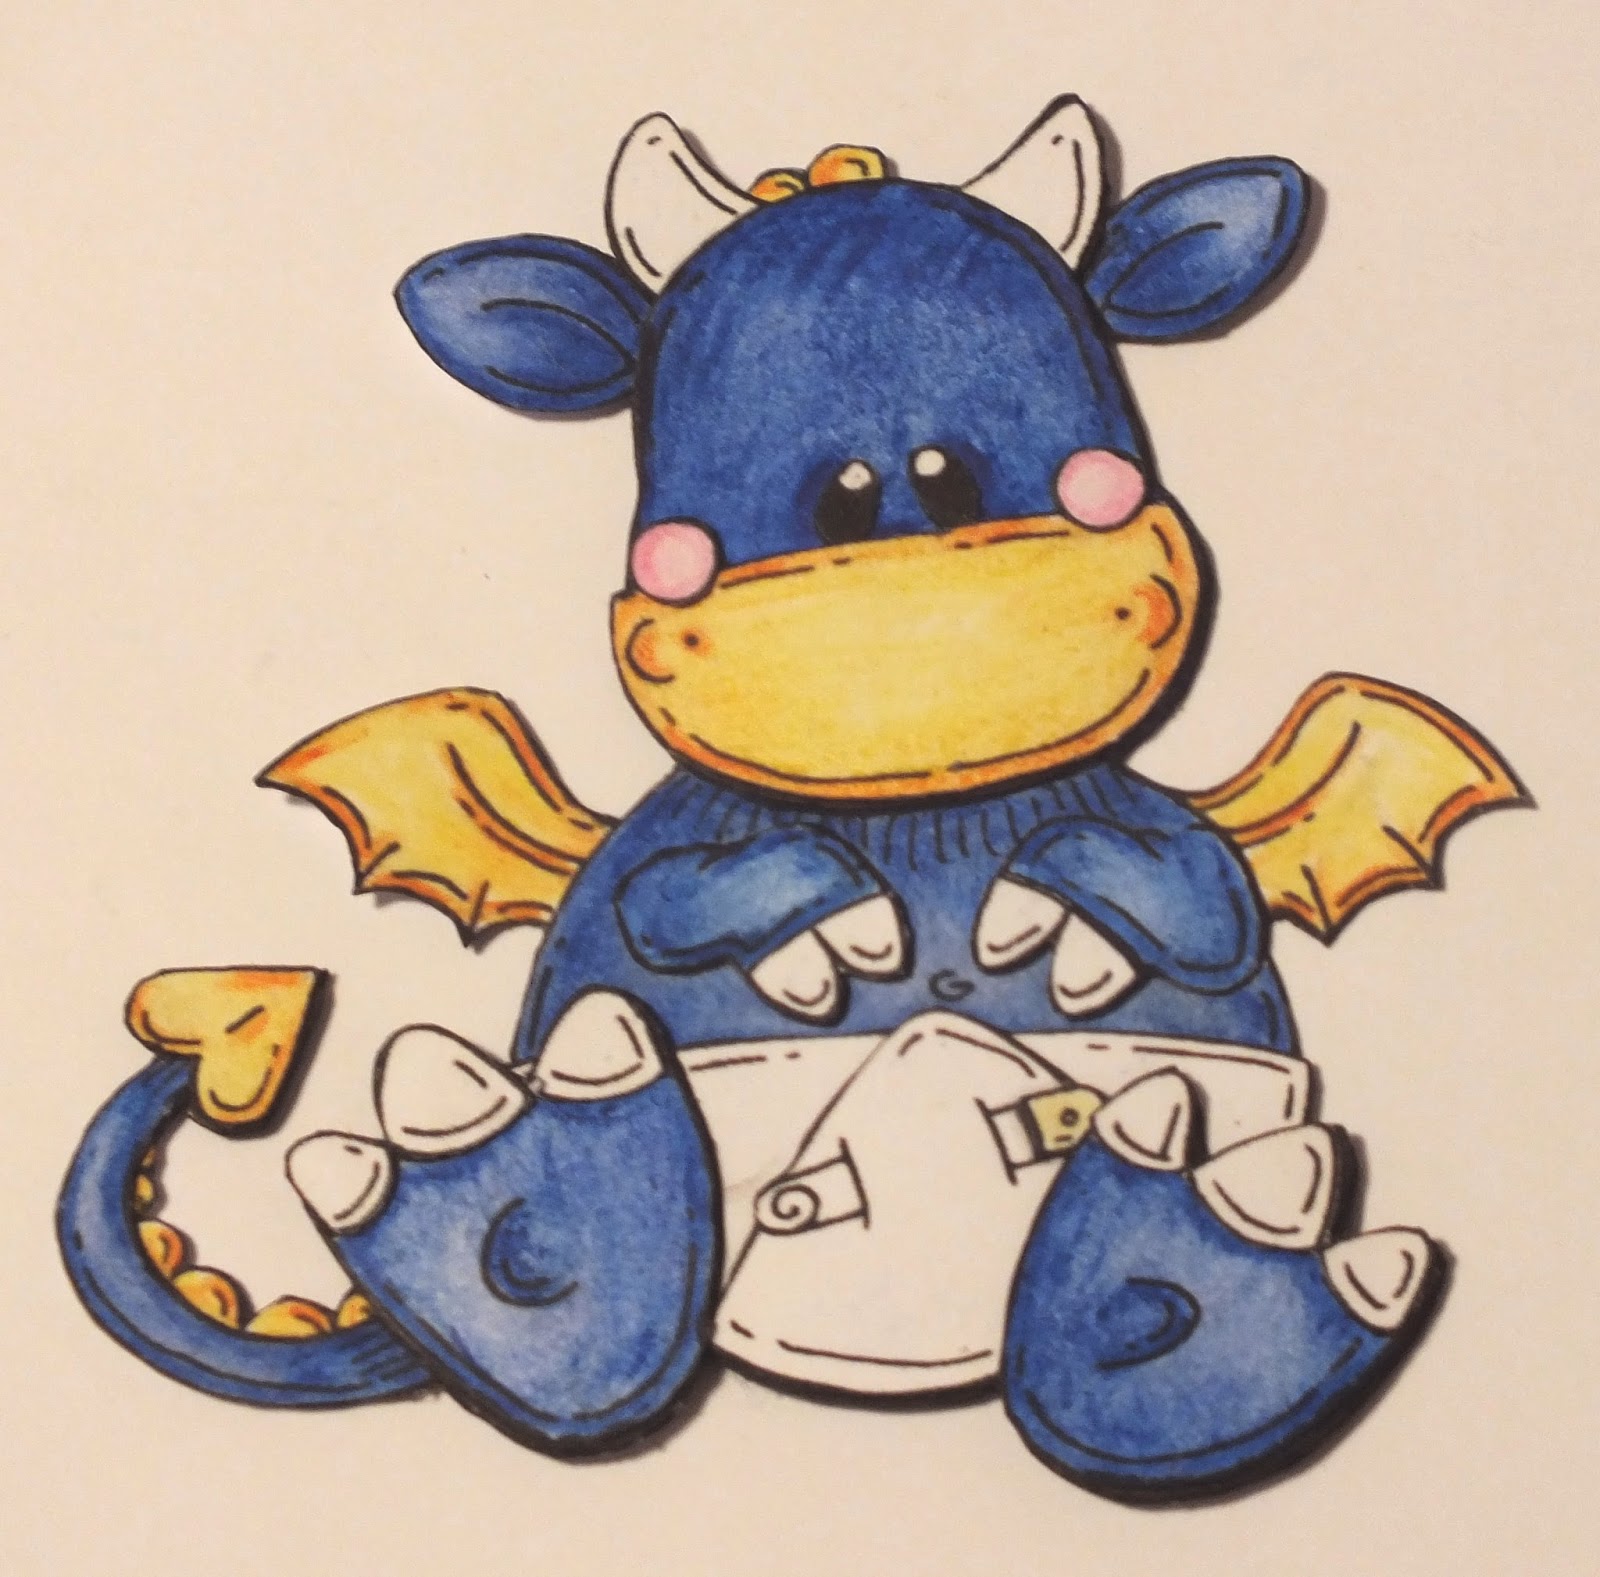
For this challenge, I made this Baby Dragon Easel Calendar.


 Image I used is Meljen's Designs 'Little Baby Dragon'.

Image on calendar is paper pieced and for this one I needed 7 same images. I printed all images on white card stock paper, colored them with my colored and aquarell pencils, fussy cut images and parts I needed, colored edges with permanent marker and pieced all elements together. I added some transparent glossy varnish to create glossy accents. Here are photos of all layers (sorry for the poor quality of photos; it was very late when I took them). 
 

Here are close up photos of finished image. 

Calendar dimensions are 14 cm x 14 cm (5 1/2" x 5 1/2")This is the first time I made easel calendar (well, easel anything) and I used great photo tutorial Kalendarkarte - calendar card from Stempeleinmaleins. I like this a lot. Here is a photo of closed up calendar. 

I made monthly calendar using MS Word. After printing, I cut out same sized rectangles and glued them together on top. 

List of supplies:
  • Meljen's Designs 'Little Baby Dragon'
  • Hearts & Circles patterned paper from digital paper collection Baby Boy Patterned Prints
  • Aerofoil free font from DaFont
  • dark blue card stock paper 
  • white card stock paper
  • white printer paper (one piece A4 paper, 80 grams) 
  • colored pencils (yellow, orange, blue, pink) 
  • Koh-i-noor Mondeluz aquarell colored pencils (yellow, orange, blue)
  • white pencil 
  • black fine liner 0.5
  • black permanent marker 
  • universal glue
  • white water based glue
  • double sided self-adhesive tape 
  • transparent varnish with extra gloss
  • printer 
  • scoring board
  • trimmer
  • scissors  
  • brush
  • crafting needle
  • Freckled Fawn Enamel Dew Drop Stickers
  • flower embellishment 

I hope you like my project. If you have any questions about it, don´t hesitate to ask me. Don´t forget to join our challenge at Fairy Tale Challenge Blog. You have 2 weeks to enter your project in current challenge. :-D


I am entering my project into the following challenges:
Note: bold text is direct link to current challenge and blog badge is direct link to blog or challenges home page. 

1) The Corrosive Challenge Blog, Challenge #211 - Magical
http://corrosivechallengesbyjanet.blogspot.com/

2) Not Just Cards Challenge Blog, Challenge #5 - Anything Goes 
http://notjustcardschallenges.blogspot.co.uk/

3) Crafting by Designs, November Anything Goes 
http://craftingbydesigns.blogspot.com/

 4) Papertake Weekly Challenge, Anything Goes 
http://papertakeweekly.blogspot.com/


Thank you for stopping by and your kind feedback. Enjoy your weekend :-D 


Crafty Milka

Sunday, November 2, 2014

Cute Ghost Card

Hi everyone :-D 

I just finished this Cute Ghost Card


This is CAS (clean and simple) card and it has only one layer. 

Card dimensions are 148 mm x 10 mm (5 7/8" x 4 1/8").

I used {heart} sketches sketch084 with a twist for my card layout. Twist was to make CAS (Clean and Simple) card. I didn´t make rectangles and squares, as shown on sketch. Instead, I added enamel dew drop stickers to a card, to keep it CAS as possible. 

Image is  From the Heart Stamps 'Patches the Ghost'. This lovely image includes two sentiments. 

A list of supplies used to make this card: 
  • From the Heart Stamps 'Patches the Ghost'
  • white card stock paper 
  • printer 
  • scoring board
  • trimmer
  • colored pencils (yellow, orange, green, blue, pink, black, brown) 
  • Koh-i-noor Mondeluz aquarell colored pencils (orange, green, blue, brown, black) 
  • white pencil 
  • black fine liner 0.5 
  • paint brush
  • water 
  • paper towels 
  • Freckled Fawn Enamel Warm Dew Drop Stickers

I would like to enter this card into the following challenges:
Note: bold text is direct link to current challenge and blog badge is direct link to blog or challenges home page. 

I used sketch and twist.


2)  CASology, Week 119: Ghost 


3) Crafty Sentiments Designs, Trick or Treat OR Something Sweet Challenge 
Follower (3) 

4) Artistic Inspirations Challenge Blog, Challenge #115 - Anything Goes/Spooky 


6) Penny´s Paper-Crafty Challenge Blog, Challenge 201 - Anything Goes 

7) The Pink Elephant, TPE274 - Anything Goes  

8) Through The Craft Room, TTCRD Challenge from October 27th to November 3rd, Anything Goes (GDT)

9) The Paper Nest Dolls Challenges, Challenge #22 - Anything Goes 

10) Clear it Out Challenge Blog, Theme: Colour challenge - use orange, Stash: Orange-y things (flowers, stickers, embellishments etc.)   

Thank you for stopping by and your kind feedback. Enjoy your day. :-D 


Crafty Milka 
Related Posts Plugin for WordPress, Blogger...