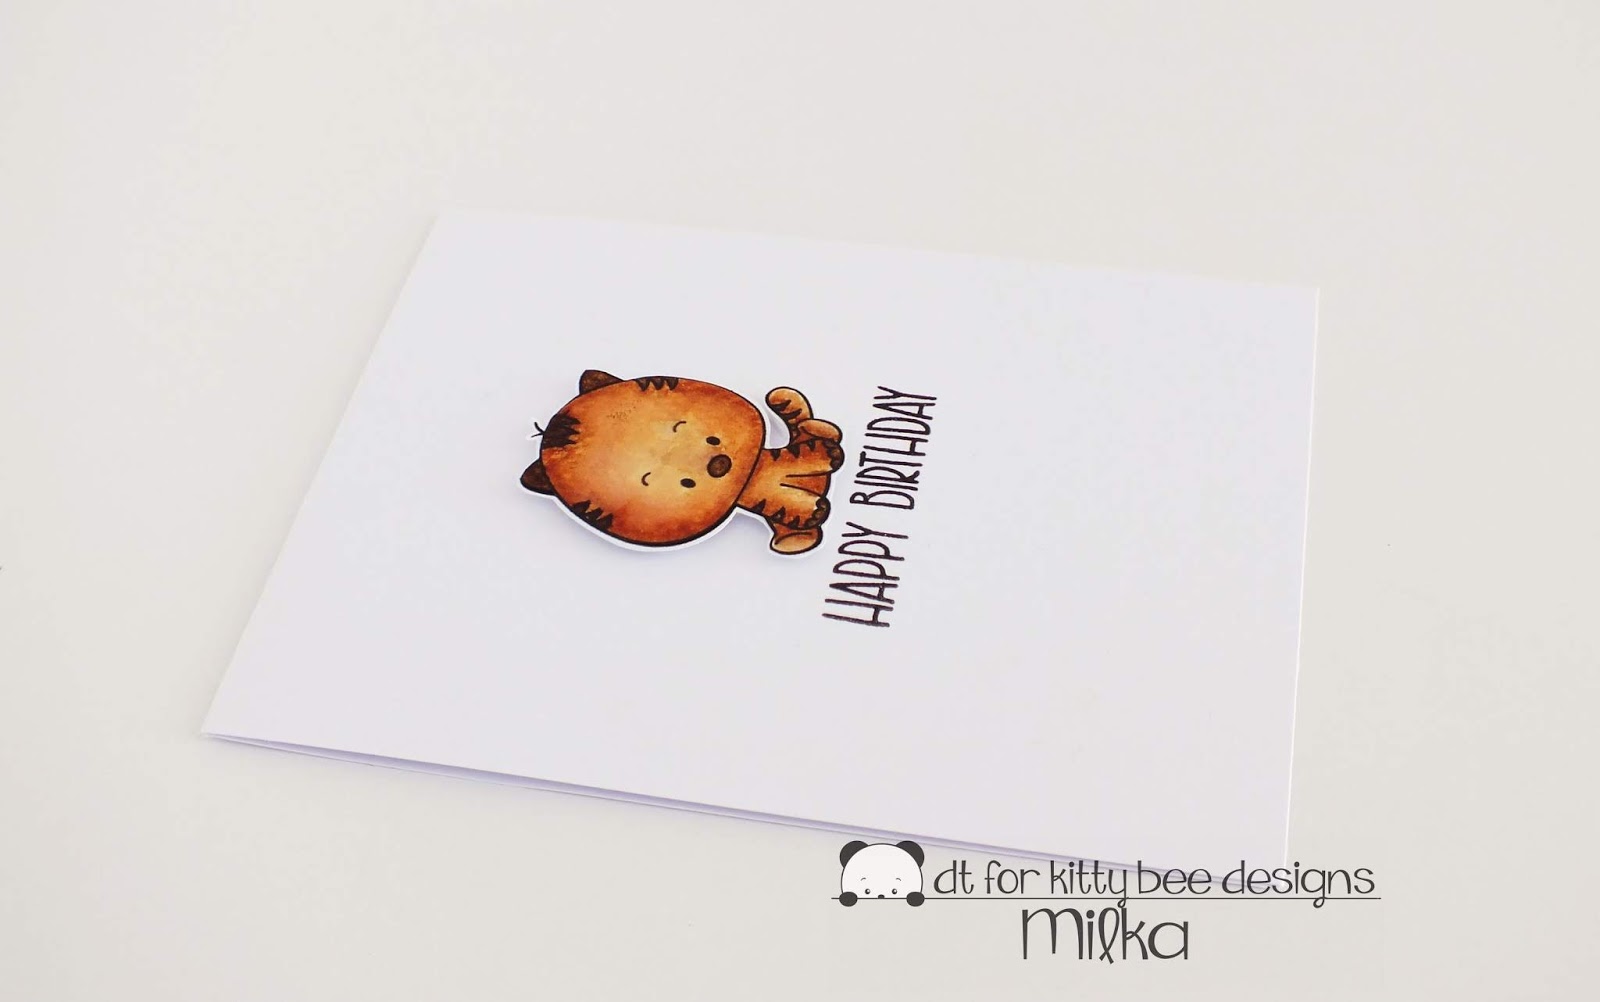
Happy Friday! :o)
My second post today. If you missed the first one just scroll down or follow a direct link here.
Today a new Aloha Friday Challenge starts at Kitty Bee Designs.
The challenge for this fortnight is #122 - Christmas in July.
We have two sponsors for this challenge: A Day For Daisies and The Paper Nest Dolls, so there will be double prizes! :o)


I hope you'll like my card for the challenge and get inspired. For more inspiration, stop by the Kitty Bee Designs blog and check out lovely projects my Design Team mates created. And don't forget to join us in this challenge. We are looking forward to see your projects. :o)


We have two sponsors for this challenge: A Day For Daisies and The Paper Nest Dolls, so there will be double prizes! :o)
And here's my take on the challenge: Christmas Candy Elf Card. :o)


For my card I used a GORGEOUS A Day For Daisies 'Candy Elf C' digital image.
I went with a same layout as on my card I shared in December 2016 (find it here).
How I made my card...
I printed the elf on a watercolor paper and left it aside for a day. I colored the elf in watercolor technique using Distress Inks. After drying, I fussy cut the elf, traced edges with black marker and softened the elf with stylus ball.
I printed another elf directly on a card base. After printing, I folded card base and colored the elf with black marker. Then I glued the colored elf over the "black one". This is kind of paper piecing and adds some dimension to the image. :o)
Next up was a sentiment. I used a font I downloaded from dafont, Impact Label Font. Love it!! :o)
I went with a same layout as on my card I shared in December 2016 (find it here).
How I made my card...
I printed the elf on a watercolor paper and left it aside for a day. I colored the elf in watercolor technique using Distress Inks. After drying, I fussy cut the elf, traced edges with black marker and softened the elf with stylus ball.
I printed another elf directly on a card base. After printing, I folded card base and colored the elf with black marker. Then I glued the colored elf over the "black one". This is kind of paper piecing and adds some dimension to the image. :o)
Next up was a sentiment. I used a font I downloaded from dafont, Impact Label Font. Love it!! :o)
Important: Read licences before downloading.
I printed the sentiment on a white cardstock paper, cut it out, colored edges with black marker and got lovely label, as if I had label maker. I glued 3-D foam on the label and placed it on the card.
As a finishing touch I embellished the card with sequins. :o)

I printed the sentiment on a white cardstock paper, cut it out, colored edges with black marker and got lovely label, as if I had label maker. I glued 3-D foam on the label and placed it on the card.
As a finishing touch I embellished the card with sequins. :o)

Dimensions: 95 mm x 127 mm (3 3/4" x 5")
List of supplies:
List of supplies:
- A Day For Daisies 'Candy Elf C' digital image
- white cardstock paper
- watercolor paper
- Tim's Holtz Distress Inks:
- Tea Dye
- Salty Ocean
- Stabilo Fiber Tip Pen (Marker) 68/46, Black
- UHU liquid glue
- 3-D foam tape, 1 mm thick
- gloss resin super clear
- Pretty Pink Posh sequins, exclusive mix for Create a Smile 'Beach Party' kit
- printer
- Fiskars High Precision Personal Paper Trimmer
- bone folder
- Marabu rounded fine paint brush no. #0
- water
- paper towels
- stylus ball
- soft working mat
- crafting needle

I hope you'll like my card for the challenge and get inspired. For more inspiration, stop by the Kitty Bee Designs blog and check out lovely projects my Design Team mates created. And don't forget to join us in this challenge. We are looking forward to see your projects. :o)

I'm linking my card to following challenges:
Note: bold text and challenge badge (if any) are direct links to the current challenge and blog badge (if any) is a direct link to blog or challenge home page.
1) Addicted to Stamps and More, Challenge #299 - Clean and Simple
This is my 1st entry to this challenge.


3) Happy Little Stampers, Christmas Challenges, July 2018, Anything Goes
This is my 1st entry to this challenge.

This is my 1st entry to this challenge.
2) Card Mania Challenges, Challenge #106, Anything Goes
This is my 2nd entry to this challenge.
3) Happy Little Stampers, Christmas Challenges, July 2018, Anything Goes
This is my 1st entry to this challenge.
4) Happy Little Stampers, Watercolour Challenge, July 2018, Anything Goes
This is my 2nd entry to this challenge.
5) Simon Says Stamp Monday Challenge, Red, White and/or Blue
This is my 1st entry to this challenge.
6) Simon Says Stamp Wednesday Challenge, Red, White and/or Blue
This is my 1st entry to this challenge.
Thank you for stopping by and your kind feedback. Enjoy and smile! :o)
Milka